Building VTK with Spack on Windows:

Spack in action on Windows
In this article Spack on Windows: A New Era in Cross-Platform Dependency Management, we introduced Spack on Windows. In this article we will expand on that and build VTK and one of its examples on Windows using Spack.
Installing Spack
Installing Spack is as simple as a git clone:
git clone https://github.com/spack/spackAnd with that, Spack is now installed and available for use!
Prerequisites : It is assumed that users have a relatively modern CMake (the versions bundled with VS are fine) and a Visual Studio installation including the Windows SDK newer than VS 15.
Python is required to run Spack, and should be available in the PATH
Running Spack
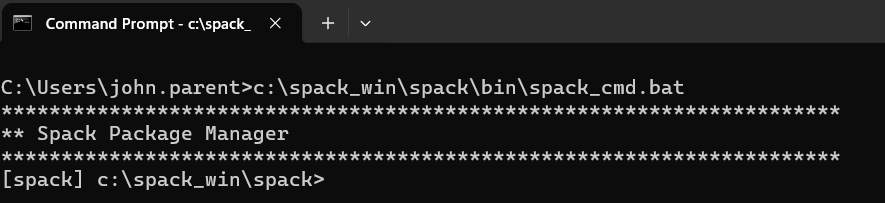
To get started using Spack, run spack_cmd.bat (in a windows command prompt with python in the PATH) from the Spack bin directory, this drops us into a Spack enabled command prompt.
Now that we’re working from within a Spack enabled shell, we can start telling Spack about our system.
First, let’s try to detect some build utilities on the system to speed up our build. Don’t worry if you do not have these installed, Spack will install them for you if they’re not available!
[spack] c:\spack_win\spack> spack external find cmake ninjaThis attempts to locate CMake and Ninja on the current system. If discovered, Spack will prefer these tools rather than spending time building them itself.

Next, let’s try to find some compilers (note, its expected that VS is installed)

Now that Spack knows about the available build tools and compilers, we’re ready to start installing packages. The following command will verbosely install VTK and all of its dependencies.
[spack] c:\spack_win\spack> spack install -v vtkThe output will look something like this:

Once the build is complete and installation successful, you should see the following in your terminal output.

We’ve successfully installed VTK with Spack! VTK is now generally available on your system, for use in any projects that require it.
Using Spack
So far we’ve installed Spack, and used our Spack installation to install some useful packages in turn, including VTK.
Now we’ll explore how to actually use these Spack installed packages and libraries in a meaningful way.
Let’s try it out by building and running one of VTK’s examples against our Spack installed VTK.
First we download, and extract one of the VTK examples from the VTK examples website: https://examples.vtk.org/
For the purposes of this example, we’ll be using HighlightPickedActor, but feel free to follow along with any of the examples.
Note: Some of the examples require data files, or extra dependencies that VTK was not built with by default to run. Be sure to identify these scenarios as they are noted in the examples website, and acquire the relevant requirements if you elect to follow with a different example with such requirements.
To get started, we need to do some setup; drop into a Spack shell, navigate to where you’d like to work with the examples, download and extract, then load VTK into the environment:
c:\> <spack-install-root>\bin\spack_cmd.bat
[spack] c:\spack_win\spack> cd C:\dev\vtk\vtk-examples
[spack] c:\dev\vtk\vtk-examples> curl -LO https://github.com/Kitware/vtk-examples/raw/gh-pages/Tarballs/Cxx/HighlightPickedActor.tar
[spack] c:\dev\vtk\vtk-examples> tar -oxf HighlightPickedActor.tar
[spack] c:\dev\vtk\vtk-examples> spack load vtk # load VTK into the PATH + CMAKE_PREFIX_PATH
We now have the source code and build system for the VTK example available in
.\HighlightPickedActor\We’re now ready to load the Spack built VTK and build against it. There are two primary methods we can use to accomplish this, using the command line, or using the Visual Studio IDE.
Visual Studio IDE
First we’ll cover building the example from Visual Studio. From the shell we just setup for building the examples, run:
[spack] c:\dev\vtk\vtk-examples> cd HighlightPickedActor
[spack] c:\dev\vtk\vtk-examples\HighlightPickedActor> <path-to-visual-studio-ide>\devenv.exe .
Where <path-to-visual-studio-ide> is something like: “C:\Program Files\Microsoft Visual Studio\2022\Community\Common7\IDE” and corresponds to the version of Visual Studio used by Spack. The “.” is given as an argument to devenv.exe to specify the current directory as the source tree.
When the IDE opens, you should observe Visual Studio configuring the project with CMake:
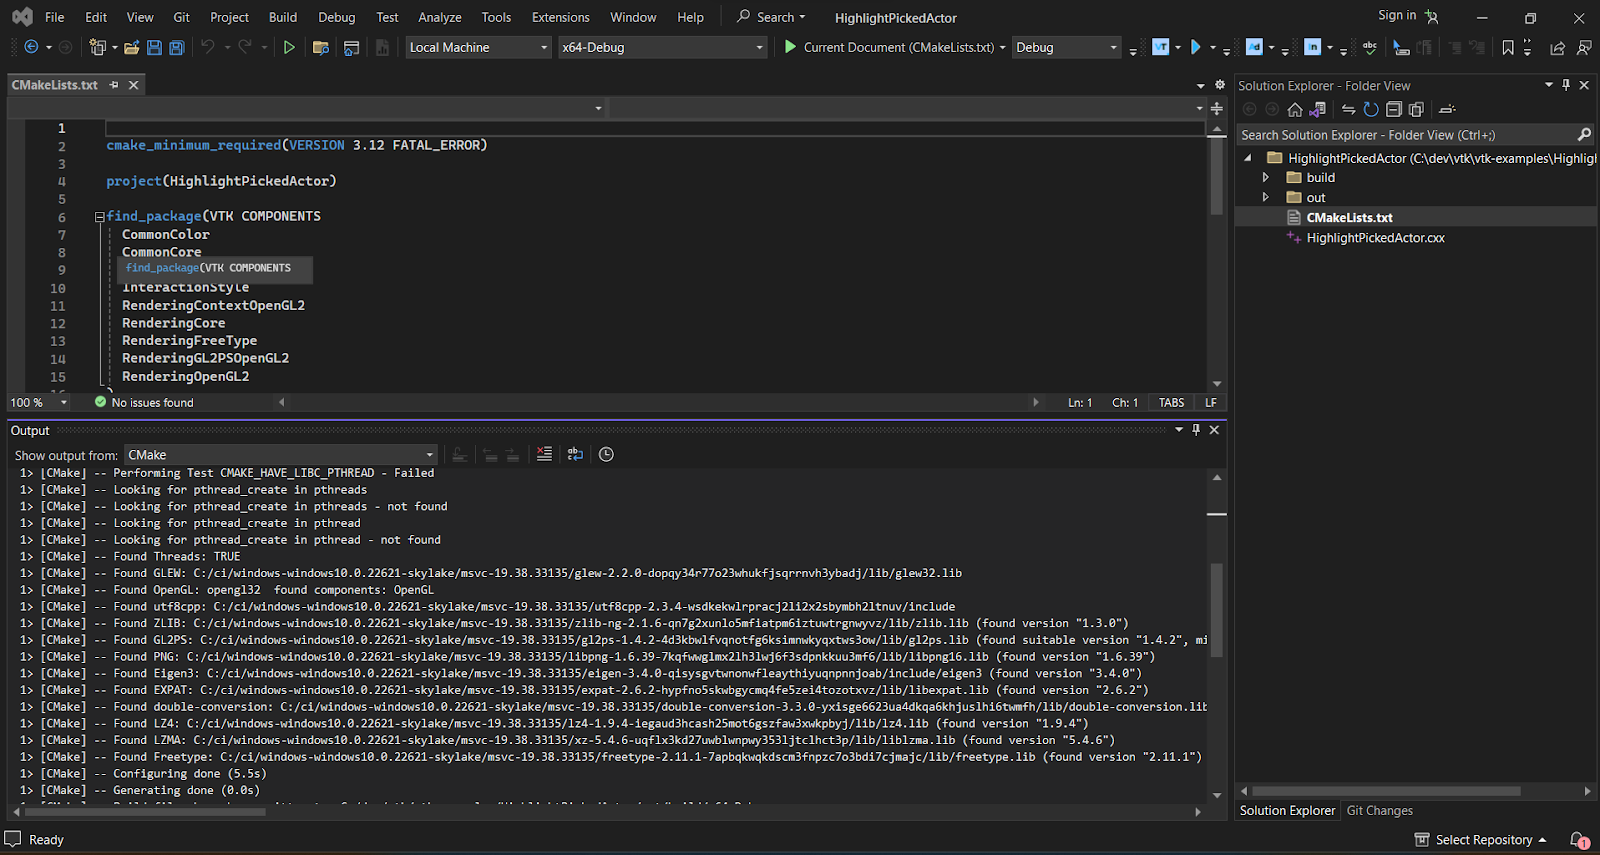
Note that you didn’t have to do anything special to get the VTK-example to find VTK and successfully configure, invoking VS from a Spack shell with VTK loaded just works.
Now, to build our VTK-example, we proceed just like every other VS build, selecting the build dropdown menu to build our software, or clicking the green build and run button to build and run our example.

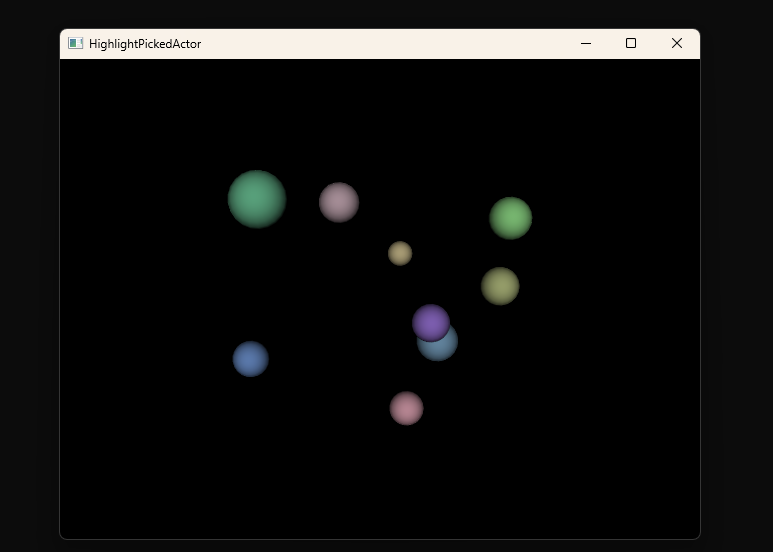
After a second, our example is built, and can be run by executing HighlightSelectedActor.exe from the build context, or instructing VS to run the program for you on successful build (i.e. if you selected the “build and run” option)
Command line
Our other option is to build our VTK example on the command line.
For this option, you’ll need to have a VSDev prompt environment enabled. This can be accomplished either by starting from a VSDev prompt, and following the instructions above, or, at any point, before, during, or after following the setup instructions above, manually invoking vcvarsall.bat corresponding to the VS Spack used to build VTK.
Note: You must be in a spack shell (from invoking spack_cmd.bat) and have loaded VTK into your environment with spack load vtk in order to allow CMake to find and process VTK properly. If you have already done this as part of the instructions above, you’re all set.
Once this is done, navigate to the premade build directory for the VTK-example and run the following.
[spack] c:\dev\vtk\vtk-examples> cd HighlightPickedActor
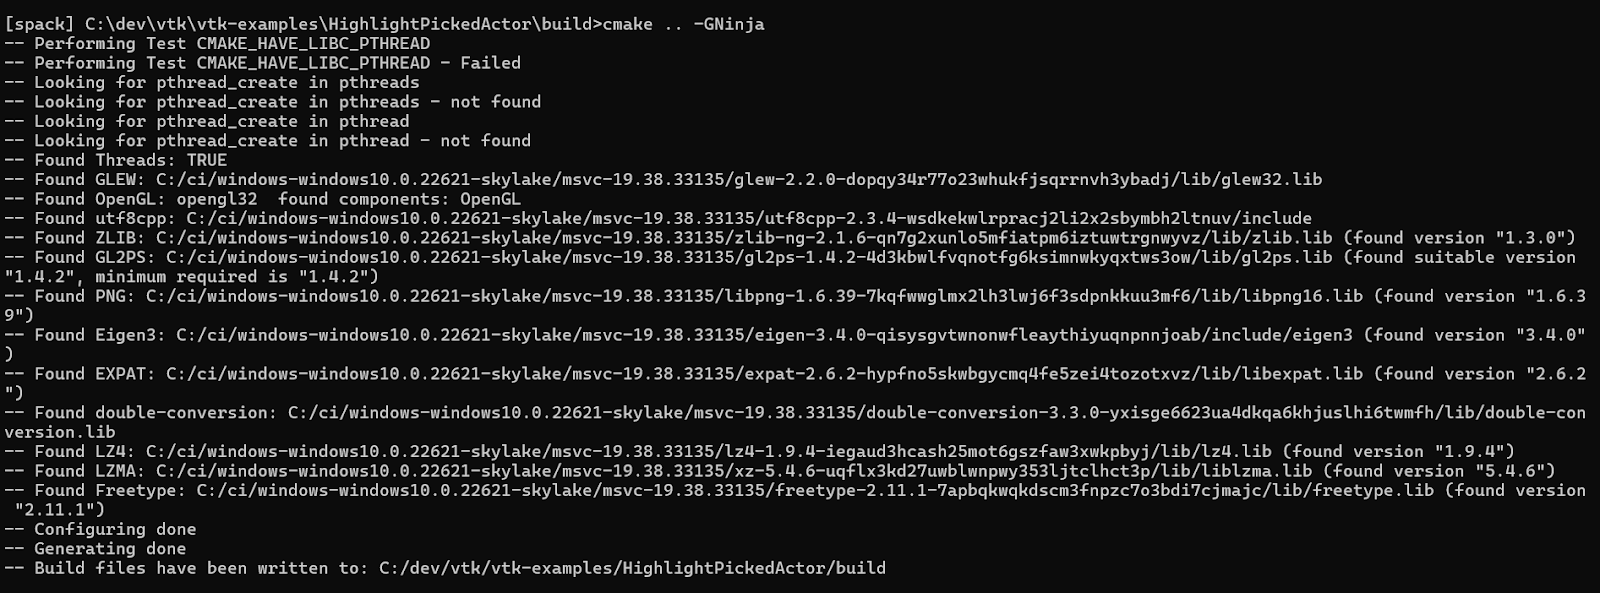
[spack] c:\dev\vtk\vtk-examples\HighlightPickedActor> cd build
[spack] c:\dev\vtk\vtk-examples\HighlightPickedActor\build> cmake .. -GNinjaAs you can see, much like the VS example, CMake was able to find and load VTK without issue or significant user intervention, once you’re in a Spack environment, it just works.
Now we want to build our example:
[spack] c:\dev\vtk\vtk-examples\HighlightPickedActor\build> cmake –build .And finally, we want to try out our example:
[spack] c:\dev\vtk\vtk-examples\HighlightPickedActor\build> HighlightPickedActor.exe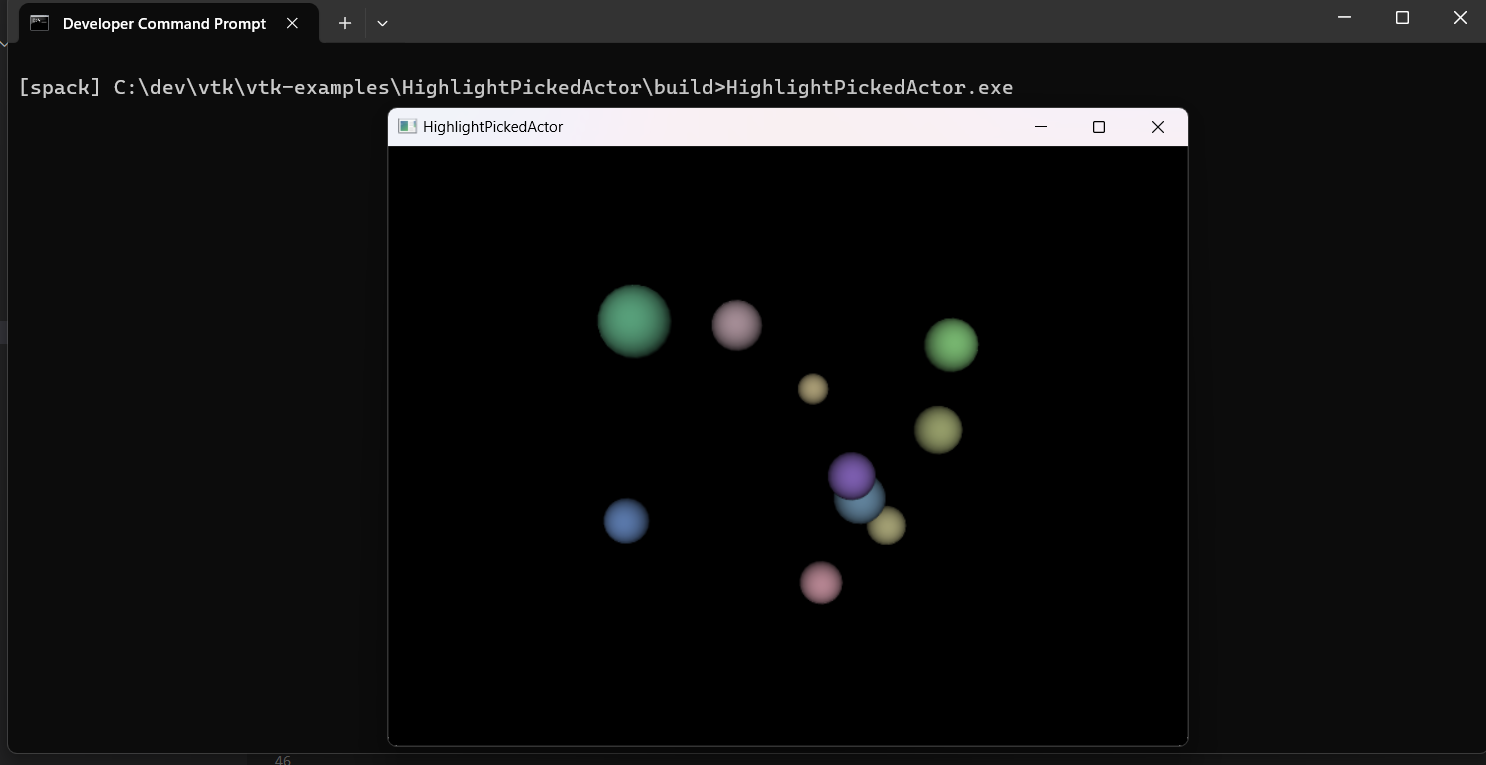
We have now successfully installed Spack, used Spack to install a useful package (VTK), and consumed that package to build and run an example project.
This is just scratching the surface of all Spack can do, but even this basic application allows us to install complex software packages on our system and effortlessly consume them.
Go forth and Spack!
This is a very nice direction! Is it already possible to also build ParaView on Windows using spack? Possibly including OSPRay raytracing?
We’re glad you found this valuable! Spack in general can build Paraview[+OSPRay], but support on the Windows platform is not yet stable.
Porting Spack packages to Windows is an area of active focus and development, we plan to have stable support for Paraview and its options (as well as a number of other exciting packages) coming very soon!