Introducing Physically Based Rendering to VTK.js WebGPU

Introduction
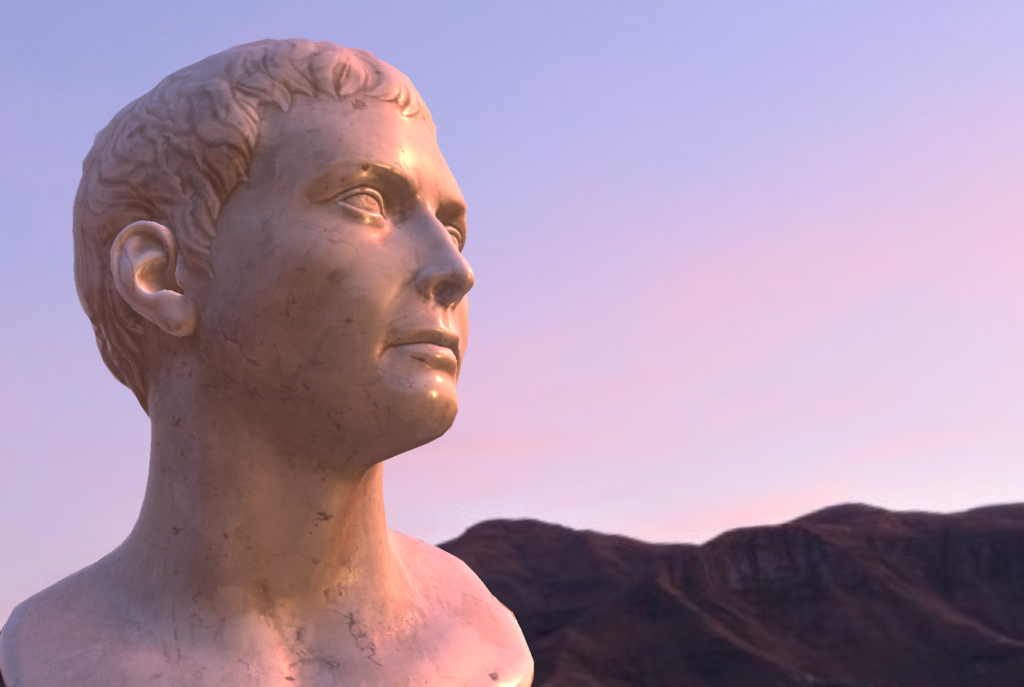
Until recently, VTK.js has only used a basic lighting model. Reminiscent of Phong shading, it only supported diffuse, ambient, and specular components, with the diffuse being the only one supporting a texture. However, this has changed. Following in the footsteps of VTK C++, the WebGPU branch of VTK.js has been the first to implement Physically Based Rendering (PBR). In the most recent version, PBR is the default lighting model used in WebGPU.
Material Changes
PBR allows for realistic rendering based on how materials react to light in the real world, and because of that it requires a few more parameters than the previous lighting model used. The specific model that is used is metallic roughness, where objects are defined by their surface roughness and how metallic they are. Below is a table of the new properties that have been added, along with a brief description of each one:
| Property | Description |
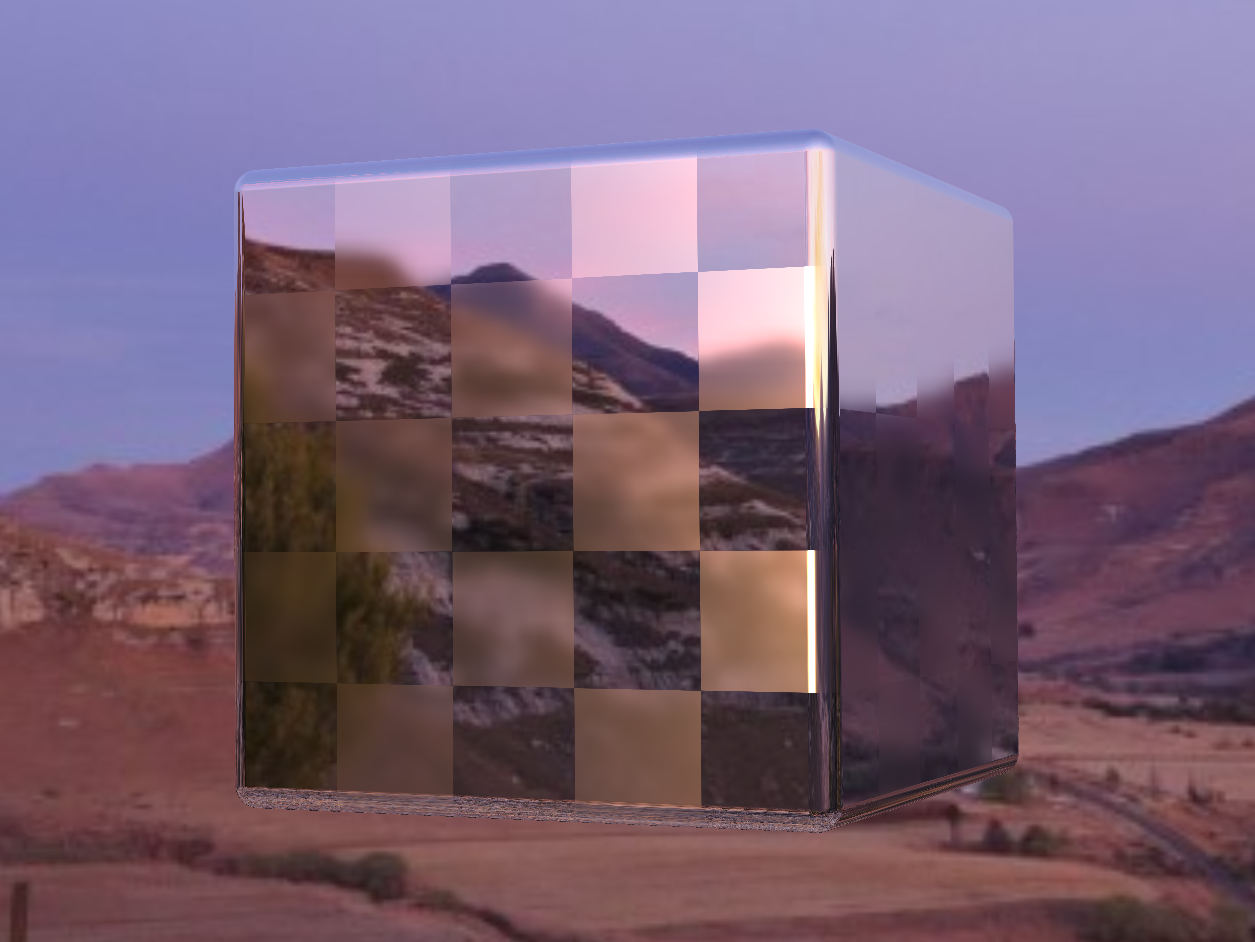
metallic / metallicTexture | Controls how metallic the object is, proportionally changing how much specular light contributes to the final color. See Fig. 2 |
roughness / roughnessTexture | Controls how rough the object is, making the light that hits it less focused at high values and more focused at low values. See Fig. 2 |
normalStrength / normalTexture | Gives additional surface details to to the model, with additional normals per fragment instead of just per vertex. |
ambient / ambientOcclusionTexture | Controls how much ambient light affects the model at a location. |
emission / emissionTexture | Allows for unlit portions of the model for areas that are supposed to be emitting their own light. |
baseIOR | The index of refraction for the object, changing how light bounces off and around objects (see IOR table for examples). |
By combining these properties, realistic materials can be created. Each property can be set with a scalar value to change its strength, and can additionally be set with a texture map which is multiplied by the scalar strength. Normal maps are supported, however they rely on an approximation and may be inaccurate at times.
Light Changes
With the inclusion of physically based materials, lights have also been updated. Each one can be set as positional or non-positional using the positional boolean. Positional lights have defined positions, directions, and cone angles. Positional lights behave like a spotlight or flashlight would, unless the coneAngle is set above 90 degrees in which case it becomes emissive in all directions and acts as a point light. To soften borders around positional lights, coneFalloff can be set, which determines the additional angle that the cone will fade to. Non-positional lights shine constant light in one direction, and generally act like sunlight. To more easily control the direction of lights, direction may now be set with a vector via setDirection.
Environment Textures
While traditional lights work well for many cases, certain materials, such as highly metallic and/or reflective materials, concentrate light and can appear overly dark or empty. To remedy this, an environmentTexture may be set in the renderer via an equirectangular texture, providing lighting from all directions (only standard image formats are currently supported for environments). For performance reasons, convolved mipmaps are used to simulate the environment at different levels of roughness; as a result, mip levels should be set through the new mipLevel property. The environment may have its diffuse and specular strengths changed with environmentTextureDiffuseStrength and environmentTextureSpecularStrength, respectively. If desired, the texture may also be set as a background for the entire render using the renderer’s useEnvironmentTextureAsBackground property.
Getting Started
To get started, first ensure that you’re using a browser that supports WebGPU. Throughout development, the most tested one was Chrome Canary with the flag --enable-unsafe-webgpu, but anything that runs it should work fine. Once that’s set up, the rest is easy: just add some mesh data (must have normals of some kind), set the properties, and add lighting. A minimal example has been added below:
import 'vtk.js/Sources/favicon';
import 'vtk.js/Sources/Rendering/Profiles/Geometry';

import vtkLight from 'vtk.js/Sources/Rendering/Core/Light';
import vtkActor from 'vtk.js/Sources/Rendering/Core/Actor';
import vtkSphereSource from 'vtk.js/Sources/Filters/Sources/SphereSource';
import vtkFullScreenRenderWindow from 'vtk.js/Sources/Rendering/Misc/FullScreenRenderWindow';
import vtkMapper from 'vtk.js/Sources/Rendering/Core/Mapper';

// Renderer
const fullScreenRenderer = vtkFullScreenRenderWindow.newInstance({
  background: [0, 0, 0],
});
const renderer = fullScreenRenderer.getRenderer();
const renderWindow = fullScreenRenderer.getRenderWindow();

// Actor setup
const sphereSource = vtkSphereSource.newInstance();
sphereSource.setThetaResolution(64);
sphereSource.setPhiResolution(32);

const mapper = vtkMapper.newInstance();
mapper.setInputConnection(sphereSource.getOutputPort());

const actor = vtkActor.newInstance();
actor.setMapper(mapper);

// Setting PBR values
actor.getProperty().setRoughness(0.5);
actor.getProperty().setMetallic(0.5);
// The rest of the properties can also be set in the same way

renderer.addActor(actor);

// Light setup
const light = vtkLight.newInstance();
light.setDirection([0, 1, 1]);
light.setIntensity(1);
renderer.addLight(light);

// Render
renderer.resetCamera();
renderWindow.render();
For a more in-depth look at the features, two new examples have been provided. The example “PBR” shows a fully textured and lit space helmet, complete with an environment texture. The example “SphereArray” shows a 5×5 grid of spheres with changing roughness and metallic values based on their position (very similar to Fig. 2).
Future Improvements
While the model is certainly more advanced than the previous one, it still has a ways to go before being a complete physically based renderer. The implementation should satisfy the needs of most users; however, for it to be fully capable, it should have the following:
- Anisotropic rendering
- High dynamic range (HDR) support
- Clearcoat
- Normals based on precomputed tangents
- Displacement and/or parallax mapping
Additionally, while not strictly necessary, certain features might be nice to have from an artistic standpoint. These include:
- HDR tone mapping
- Color adjustments and LUTs
- Subsurface scattering
- Processing such as antialiasing, screen-space ambient occlusion, screen-space reflections, and bloom
- Rectangular area lights
The ultimate goal is that VTK.js users will be able to enjoy the same approximate visual quality and capabilities as those seen in VTK C++.
Are you working on a project that involves VTK.js? We’d love to hear from you. Email us at kitware@kitware.com.
Acknowledgements
This work is part of VTK maintenance, which is funded by NIH R01 from the National Institute of Biomedical Imaging and Bioengineering (NIBIB), “Accelerating Community-Driven Medical Innovation with VTK” (R01EB014955).