Slicer 2017 Winter Project Week Tutorial Contest Winner: Segmentation for 3D Printing
Earlier this month, the 3D Slicer 2017 Winter Project Week took place at the Massachusetts Institute of Technology (MIT) Computer Science and Artificial Intelligence Laboratory (CSAIL) in Cambridge, MA.
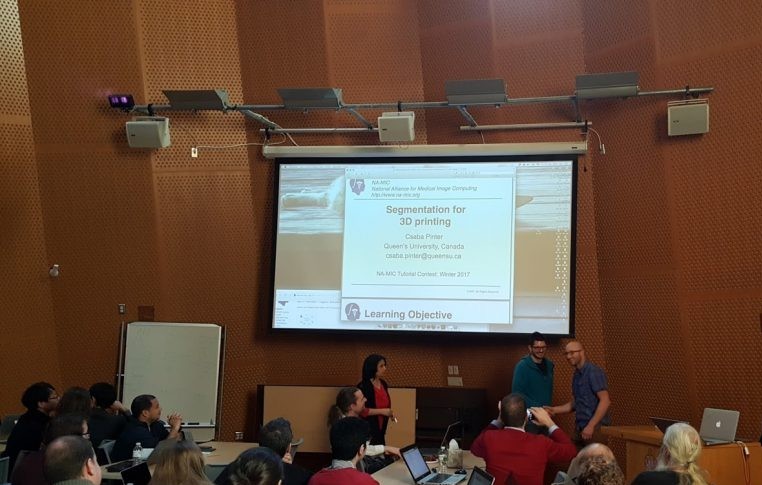
While highlights and major contributions of the project week are already summarized in Deep learning and web technologies are the focus of 3D Slicer 2017 Winter Project Week post, this post showcases this year’s 3D Slicer tutorial contest winner, Csaba Pinter from Queen’s University, who was awarded $250 by Kitware. In his tutorial, Csaba explained how to use the 3D Slicer segmentation module for 3D printing.
Special thanks go to Sonia Pujol, Ph.D., director of training at the Neuroimage Analysis Center at Brigham and Women’s Hospital, who organized the contest, and to all the judges: Rebekka Lauer (Humboldt-University, Berlin), Parvin Mousavi (Brigham and Women’s Hospital), Peter Anderson, Hongtao Zhang (Hebei General Hospital) and Michael Chae (Monash University).
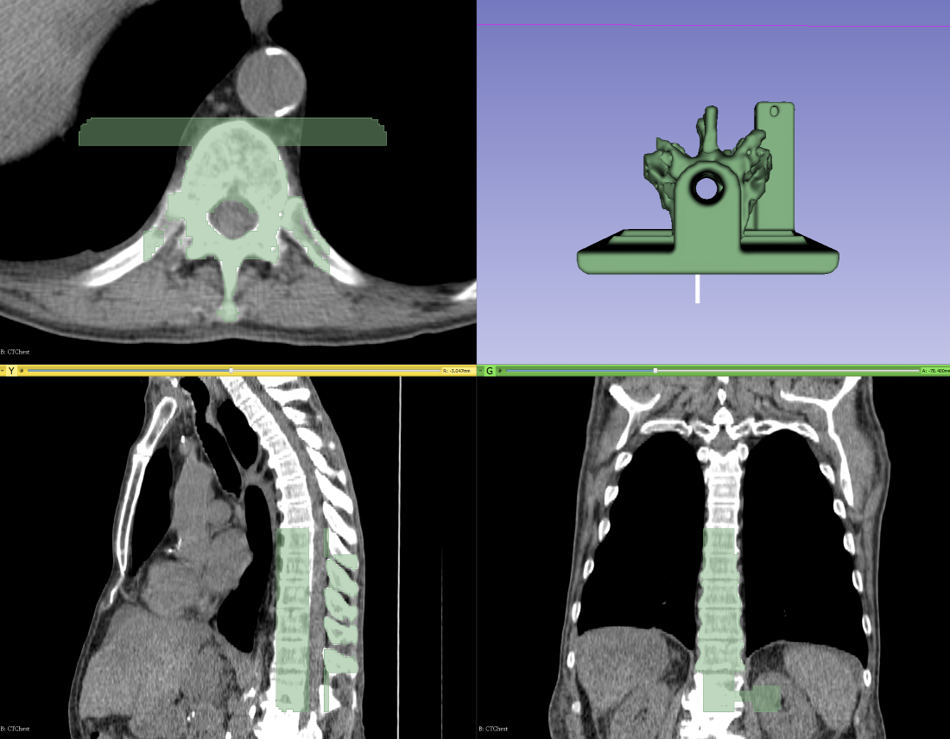
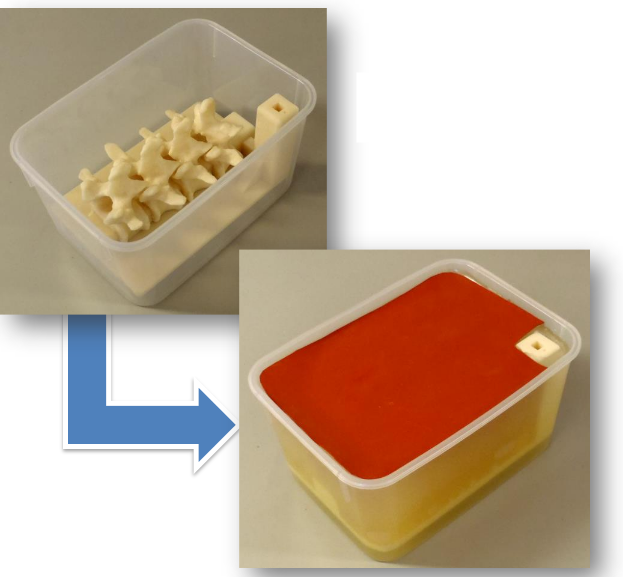
The tutorial aims to be an introduction to the new Segment Editor module, demonstrated through the popular topic of 3D printing. The created phantom, as presented in the paper of Moult et al. [1], consists of a section of a spine segmented on a CT image, merged together with a phantom base which is designed separately in a CAD application. The base allows reproducible and stable placement of the phantom in a box, and contains a marker holder hosting an electromagnetic (EM) reference sensor. The purpose of the phantom is facet joint injection training simulation, during which the trainees learn the elaborate needle insertion technique without involving a live patient. Trainee skill can be evaluated quantitatively from the EM tracking data using the PerkTutor extension [2].
The highlighted 3D Slicer feature in the tutorial is the Segment Editor module, which is the next generation of the Editor module providing features for manual and semi-automatic segmentation. This new module is based on the also new Segmentations module and infrastructure that allows advanced management of segmentation results. It allows overlapping segments, simultaneous visualization and real-time updates in 2D and 3D, and editing on oblique slices just to name a few. The tutorial demonstrates that using a few editing tools – threshold, 2D and 3D scissors, islands – it is quite easy to accurately segment a few vertebrae, which is then easily merged with the phantom base loaded from file. The result is then saved to STL file, the common file format that can be sent directly for 3D printing.
The overall value of the tutorial is presenting a new, powerful feature in 3D Slicer on a very current and popular topic. Given that every research topic and use case is slightly different, these tools will also need to be used in a slightly different way. However, by demonstrating the capabilities and some of the options, the tutorial hopefully benefits the open-source medical imaging community by offering an easier, more streamlined method to create models for 3D printing.
- Moult, E., Ungi, T., Welch, M., Lu, J., McGraw, R. C., & Fichtinger, G. (2013). Ultrasound-guided facet joint injection training using Perk Tutor. International journal of computer assisted radiology and surgery, 8(5), 831-836.
- Ungi, T., Sargent, D., Moult, E., Lasso, A., Pinter, C., McGraw, R. C., & Fichtinger, G. (2012). Perk Tutor: an open-source training platform for ultrasound-guided needle insertions. IEEE Transactions on Biomedical Engineering, 59(12), 3475-3481.
in Thailind