Introducing the Interactive Medical Simulation Toolkit: Part I
![]()
Medical simulators are complex yet powerful tools that help residents train for (or rehearse) complex surgical procedures and learn basic skills that are common to different surgeries performed in the operating room (OR) [1]. More specifically, simulators make training and skills acquisition more efficient through the use of quantifiable measures. Studies have indicated that medical simulators have led to fewer errors in the OR and have decreased the costs of post-surgical care [2-4].
A typical medical simulator is a collage of software tools from disciplines such as computational mechanics, 3D graphics, medical image processing, computational linear algebra, 3D geometric modeling, computational geometry, haptics, human factors, and computational physiology. As a result, it can be laborious and time consuming for developers with expertise in even a few of these disciplines to build a simulator that can pass validation and be ready for clinical deployment.
In response to this need, we developed the interactive Medical Simulation Toolkit (iMSTK)—a C++ based free and open source toolkit that aids rapid prototyping of real-time multi-modal surgical simulation scenarios. iMSTK systematically embeds commonly used features in separate modules and presents them to developers through a palatable API. It aims to help research and development efforts in academia and industry. Version 1.0 of iMSTK came out last week.
Below are some of the main features that iMSTK offers.
Physics-based simulation: The Simulation module has features such as linear and nonlinear finite element models along with position based dynamics [5] (elastic objects, fluids and membrane).
Rendering: iMSTK offers two rendering backends with the Visualization Toolkit (VTK) [6] and Vulkan API. Besides standard rendering capabilities, advanced physically based rendering such as sub-surface scattering, shadows, and decals are available.
External Hardware: The Hardware input/output module supports over 30 devices through Virtual Reality Peripheral Network (VRPN) [7]. These devices include standard foot pedals, haptic devices like Geomagic Touch, and a 3D mouse.
Collision Detection: The Collision Detection module detects and reports collisions between two geometric entities in a scene. The module contains many narrow phase intersection tests between simpler geometric primitives and advanced collision detection that use spatial hashing.
Collision Handling: The Collision Handling module encodes formulations that act on the collision information to physically resolve the intersection between two objects in a scene. Currently, iMSTK offers constraint- and penalty based collision handling features.
Numerical Solver: The Solver module supports linear and nonlinear numerical solvers that resolve the unknowns at the end of each frame and, thus, form the workhorse of the simulation. Standard direct solvers such as LU and LDLT decomposition as well as iterative solvers such as Conjugate gradient and point relaxation (e.g., Gauss-Seidel and Jacobi) are available.
Virtual Reality: iMSTK features SteamVR support that works with standard VR head-mounted devices such as Oculus and HTC Vive. As it stands, this support is compatible with the VTK backend only.
Build and CI: iMSTK allows automatic CMake-based cross-platform builds where the dependencies are fetched and built automatically. Additionally, default project resources are downloaded and placed in the appropriate directories.
iMSTK also uses a quality control workflow that includes a stringent testing suite, a continuous integration system that is based on CTest and CDash, a web-based code review system and a protocol for accepting patches into the main code repository.
Downloading and Building iMSTK
The iMSTK source code is available from the toolkit’s download page. iMSTK is supported on all major platforms. It can be configured on Linux, macOS or Windows using CMake.
Linux and macOS
To build iMSTK on Linux or macOS, type the following commands from the location where the code is cloned. This will configure the build in a directory adjacent to the source directory. To easily change configuration variables like CMAKE_BUILD_TYPE, use ccmake in place of cmake.
mkdir iMSTK-build
cd iMSTK-build
cmake ../iMSTK #/path/to/source/directory
make -j4 #to build using 4 cores
For a faster build, use Ninja instead of Unix Makefiles by configuring the cmake project with -GNinja.
cmake -GNinja ../iMSTK
ninja
This will check out, build and link all iMSTK dependencies. If you want to make changes to iMSTK’s base source code or run examples, build from the Innerbuild directory.
Windows
Run CMake-GUI and follow the instructions from “Running CMake.” You will be prompted to choose a version of Visual Studio. Select Microsoft Visual Studio C++ 15 2017.
CMake will generate an iMSTK.sln solution file for Visual Studio at the top level. Open this file and build all targets to check out, build and link all iMSTK dependencies. If you want to build on multiple cores, add /MP[N] to CMAKE_CXX_FLAGS in CMake-GUI, where N is optional (representing the number of cores). Without N, the build will use all of the available cores on the device.
Additional Build Options
For additional build options such as enabling the Vulkan rendering backend or using a haptic device, please refer to the instructions on the code repository page.
Hello World Example
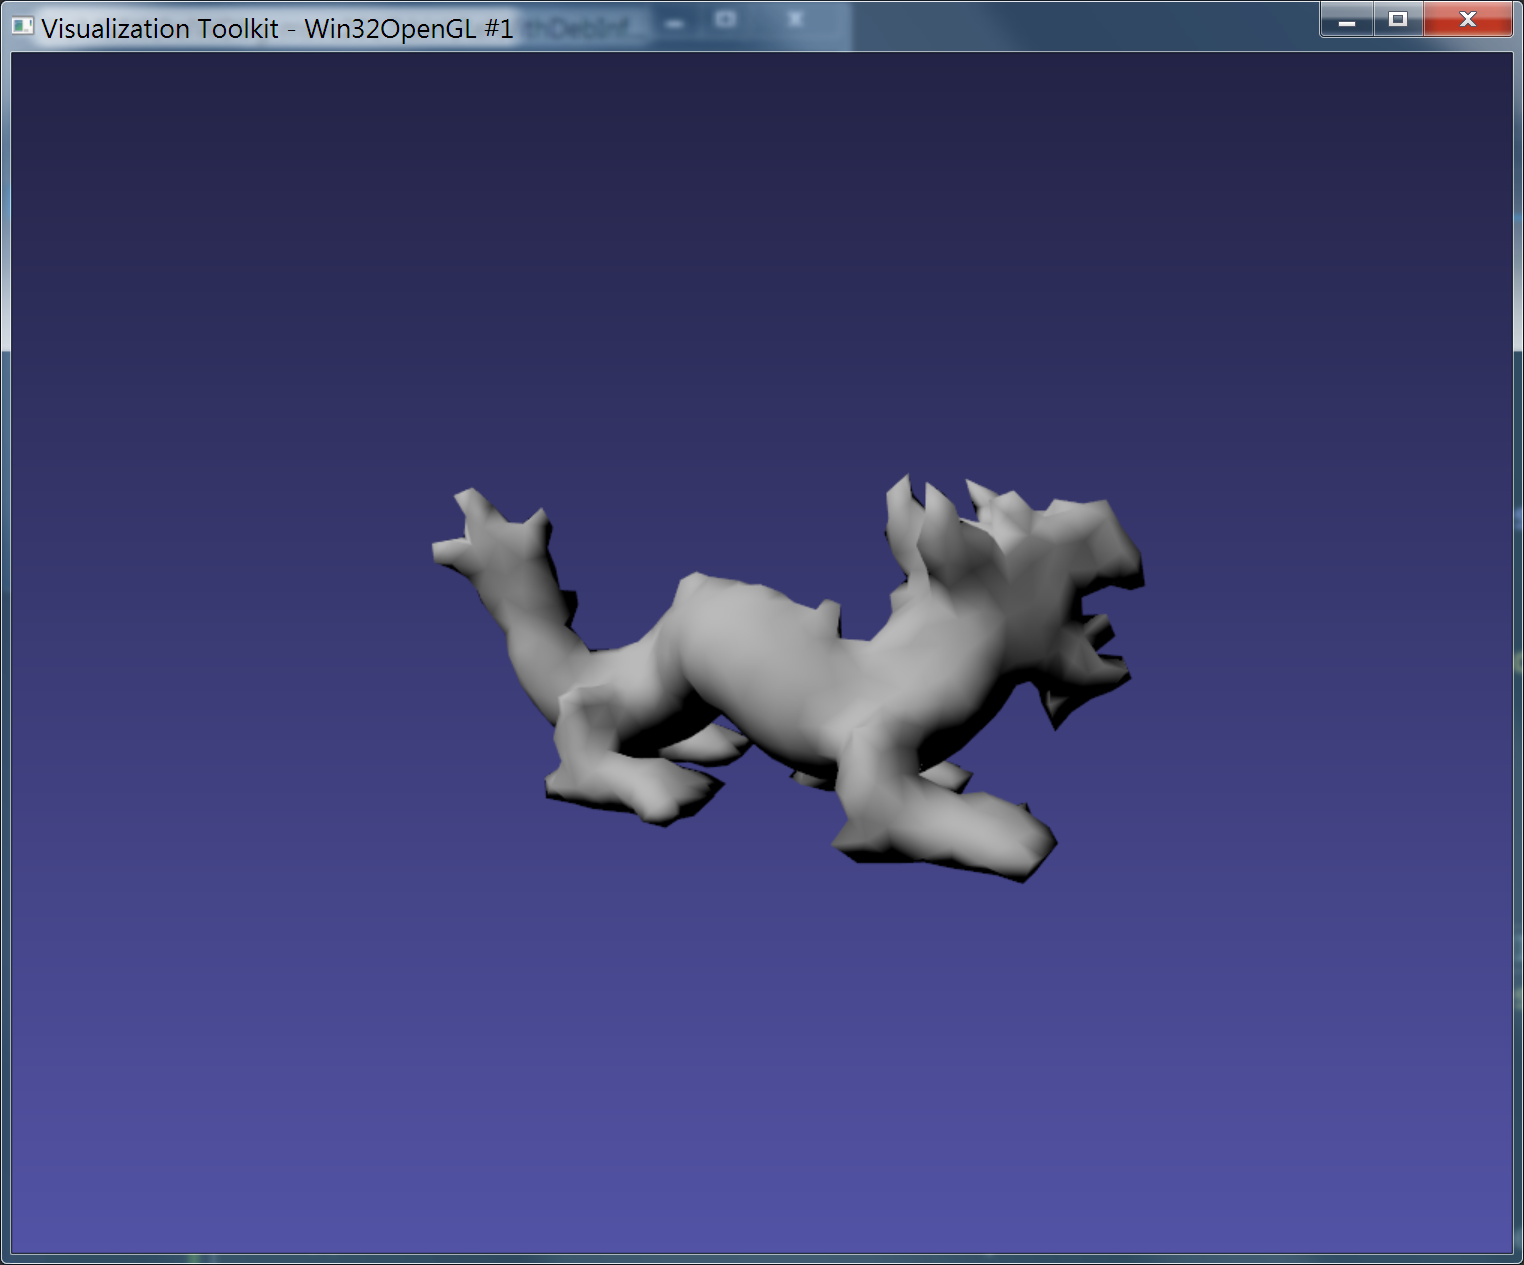
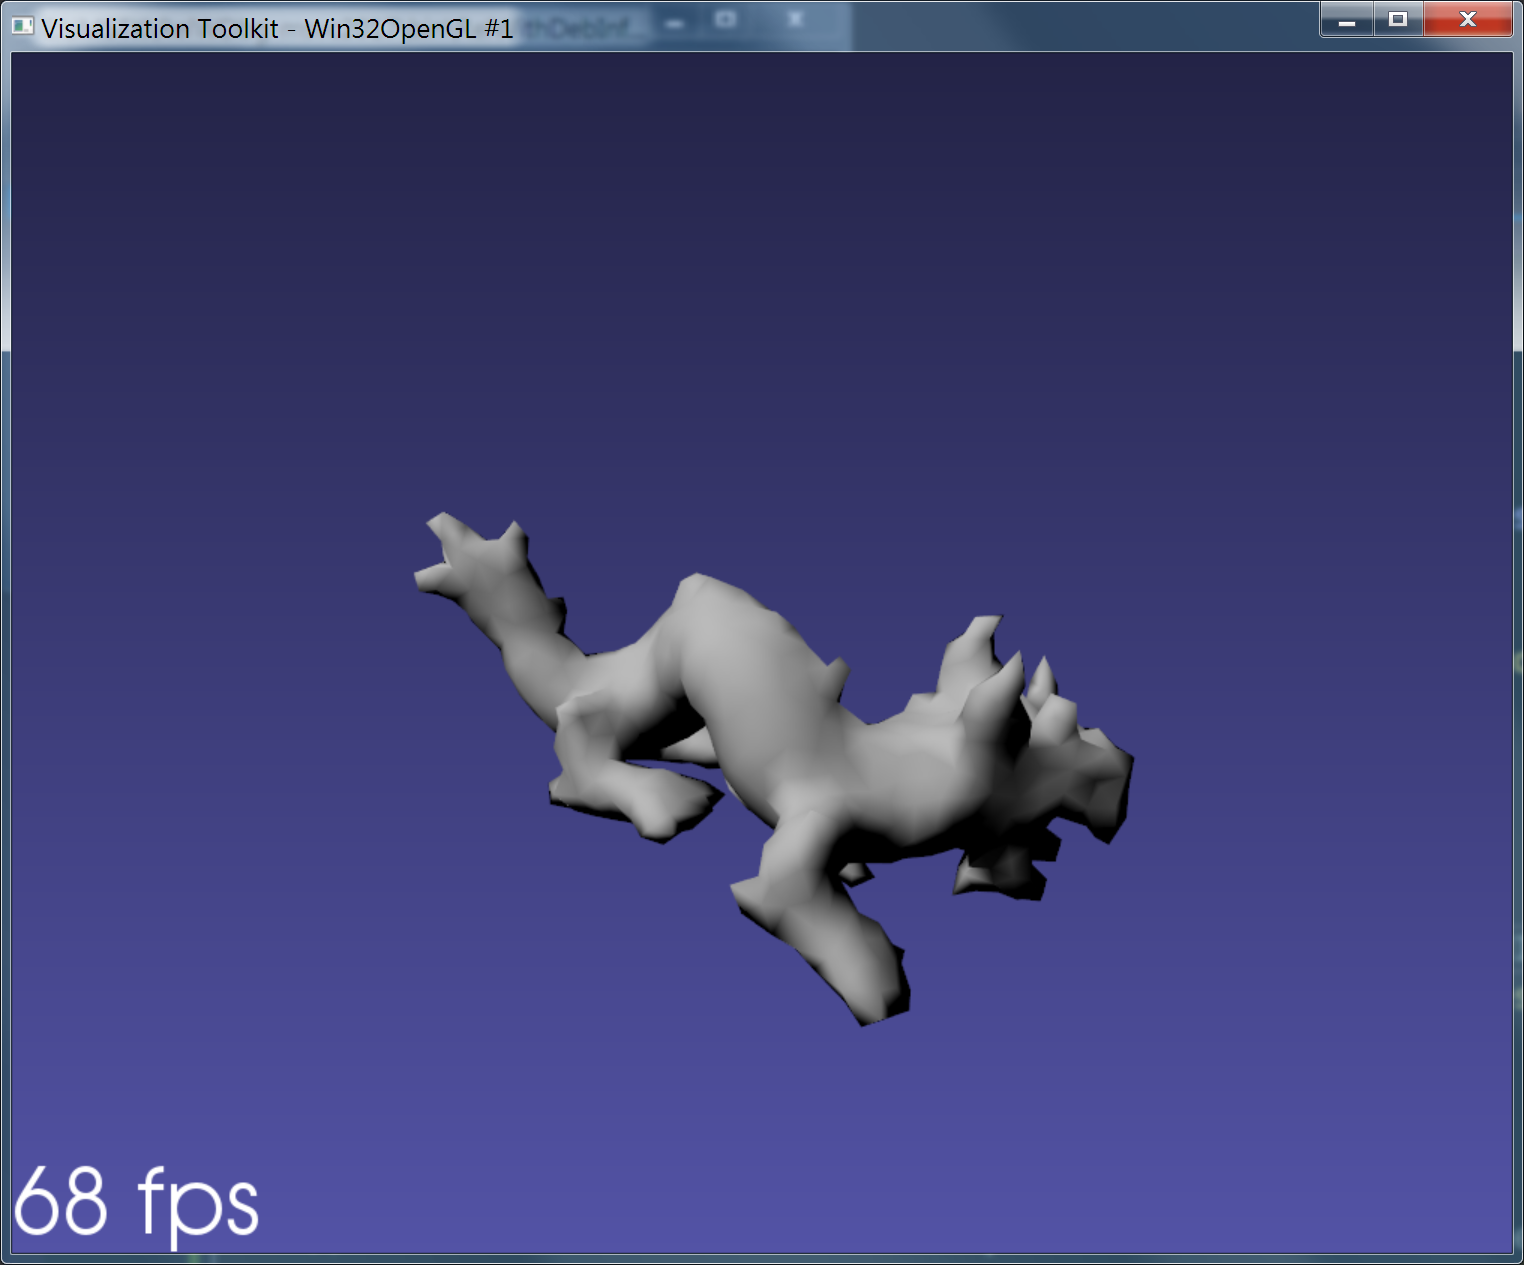
Now that you’ve built iMSTK, it’s time to try it out. In this “Hello World” example, a simple elastic object is deformed under gravity and visualized as part of the iMSTK scene. The comments describe the steps.
using namespace imstk;
///
/// \brief imstk hello world example
///  Creates and visualizes a simple elastic object constrained at certain points
///
int main()
{
    // Create the simulation manager
    auto sdk = std::make_shared<SimulationManager>();

    // Create imstk scene
    auto scene = sdk->createNewScene("HelloWorld");

    // Load a sample volumetric mesh
    auto volTetMesh = std::dynamic_pointer_cast<TetrahedralMesh>(MeshIO::read(iMSTK_DATA_ROOT "/asianDragon/asianDragon.veg"));

    // Create a surface mesh for display purposes that is extracted from loaded volume mesh
    auto surfMesh = std::make_shared<SurfaceMesh>();
    volTetMesh->extractSurfaceMesh(surfMesh, true);

    // Create a visual model
    auto surfMeshModel = std::make_shared<VisualModel>(surfMesh);

    // Construct a map that relates volumetric and surface mesh

    // Construct one to one nodal map based on the above meshes
    auto oneToOneNodalMap = std::make_shared<OneToOneMap>();
    oneToOneNodalMap->setMaster(volTetMesh);
    oneToOneNodalMap->setSlave(surfMesh);
    oneToOneNodalMap->compute();


    // Create a deformable object
    auto deformableObj = std::make_shared<PbdObject>("PBDobject");
    auto pbdModel = std::make_shared<PbdModel>();
    pbdModel->setModelGeometry(volTetMesh);

    // configure the physics model
    pbdModel->configure(/*Number of Constraints*/ 1,
                        /*Constraint configuration*/ "FEM StVk 100.0 0.3",
                        /*Mass*/ 1.0,
                        /*Gravity*/ "0 -9.8 0",
                        /*TimeStep*/ 0.01,
                        /*FixedPoint*/ "51 127 178",
                        /*NumberOfIterationInConstraintSolver*/ 5
                        );

    // Configure the deformable body
    deformableObj->setDynamicalModel(pbdModel); // set the physics model
    deformableObj->addVisualModel(surfMeshModel); // set the geometry to be used for rendering
    deformableObj->setPhysicsGeometry(volTetMesh); // set the geometry to be used for physics
    deformableObj->setPhysicsToVisualMap(oneToOneNodalMap); // assign the computed map
    deformableObj->setPbdModel(pbdModel);

    auto pbdSolver = std::make_shared<PbdSolver>();
    pbdSolver->setPbdObject(deformableObj);

    scene->addNonlinearSolver(pbdSolver);
    scene->addSceneObject(deformableObj);

    // Light
    scene->addLight(std::make_shared<DirectionalLight>("light"));

    // Run the scene
    sdk->setActiveScene(scene);
    sdk->startSimulation();

    return 0;
}
Below are the additional runtime user keyboard controls that are available by default.
- ‘space’: pause or the run simulation
- R/r: restart the simulation
- D/d: toggle between debug and simulation rendering modes
- P/p: display the render frame rate on the screen (see the images above)
You can use ‘debug rendering mode’ to show the camera and lights of the scene, as well as to pan, zoom and rotate the scene with a mouse.
Part II
Part II of this blog series will discuss some of the medical trainer applications that we have developed with iMSTK. These applications cover different medical domains and use iMSTK in combination with 3D Slicer and VTK. We will further discuss upcoming development plans and our efforts to integrate newer software such as Computational Model Builder (CMB) (which helps string together all of the components of a simulation lifecycle) and the Pulse Physiology engine (which models and simulates human physiology using reduced models) to a support wide variety of workflows that are required by modern medical simulators.
Acknowledgment
Research reported in this publication was supported, in part, by the National Institute of Biomedical Imaging And Bioengineering of the National Institutes of Health (NIH) under Award Number R44EB019802; by the National Institute of Diabetes and Digestive and Kidney Diseases of the National Institutes of Health under Award Number R43DK115332; by the Office Of The Director, National Institutes Of Health of the National Institutes of Health under Award Number R44OD018334; and by the National Institute of Dental & Craniofacial Research of the National Institutes of Health under Award Number R43DE027595.
The content is solely the responsibility of the authors and does not necessarily represent the official views of the NIH and its institutes.
References
- Satava, R. M. (2007). Historical Review of Surgical Simulation—A Personal Perspective. World Journal of Surgery 32(2): 141- 148.
- Ahlberg, Gunnar, Lars Enochsson, Anthony G Gallagher, Leif Hedman, Christian Hogman, David A McClusky, Stig Ramel, C Daniel Smith, and Dag Arvidsson. 2007. “Proficiency-based Virtual Reality Training Significantly Reduces the Error Rate for Residents During Their First 10 Laparoscopic Cholecystectomies.” American Journal of Surgery 193 (6): 797–804.
- Seymour, Neal E, Anthony G Gallagher, Sanziana A Roman, Michael K O’Brien, Vipin K Bansal, Dana K Andersen, and Richard M Satava. 2002. “Virtual Reality Training Improves Operating Room Performance.” Annals of Surgery 236 (4): 458–464.
- Aggarwal, Rajesh, Kimberly M. Brown, Piet C. de Groen, Anthony G. Gallagher, Kerm Henriksen, Louis R. Kavoussi, Grace C. Y. Peng, et al. 2017. “Simulation Research in Gastrointestinal and Urologic Care-Challenges and Opportunities: Summary of a National Institute of Diabetes and Digestive and Kidney Diseases and National Institute of Biomedical Imaging and Bioengineering Workshop.” Journal of Clinical Gastroenterology, May.
- Müller, Matthias, Bruno Heidelberger, Marcus Hennix, and John Ratcliff. 2007. “Position Based Dynamics.” J. Vis. Comun. Image Represent. 18 (2): 109–118.
- Schroeder, Will; Martin, Ken; Lorensen, Bill (2006), The Visualization Toolkit (4th ed.), Kitware, ISBN 978-1-930934-19-1.
- Taylor II, Russell M., et al. “VRPN: a device-independent, network-transparent VR peripheral system.” Proceedings of the ACM symposium on Virtual reality software and technology. ACM, 2001.
It’s great that there is such software that can help train and prepare specialist in such way. Such software should be incorporated in many fields, especially construction and engineering.